
How to Make a Fairy Garden
Published on Aug 1, 2026
This guide shows how to make a fairy garden using the complete Moss Cottage Micro Landscape Kit build—from bare tray to finished micro landscape. Follow every step in order. Product photos below are live store items; process photos show the full assembly sequence we created for this series. Set aside about 45–60 minutes for a first build, including a short pause after the moss stage so the base settles before heavy pieces go in.
Step 1: Prepare Tray, Soil, and Moss
Start with a shallow ceramic or resin tray. Add a thin soil layer, then keep sheet moss ready. Do not place buildings yet—this step is only about a stable, soft foundation.

Step 2: Shape the Moss Base
Press moss into gentle hills and leave a flat pad where the cottage will sit. Keep a walking path open in the front so the finished scene has depth.

Step 3: Install Structure Pieces
Place the thatched cottage fairy house slightly off-center. Add a miniature fairy garden fence as the yard edge, set a tiny white garden bench near the door, and tuck colorful mushrooms along the path. Structure first—characters later.
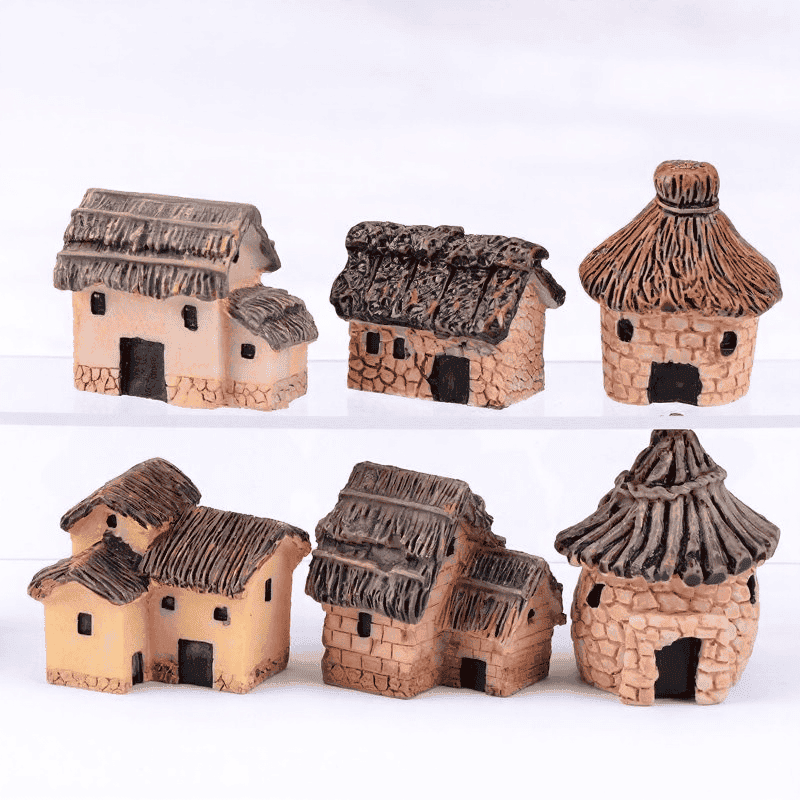 thatched cottage fairy house
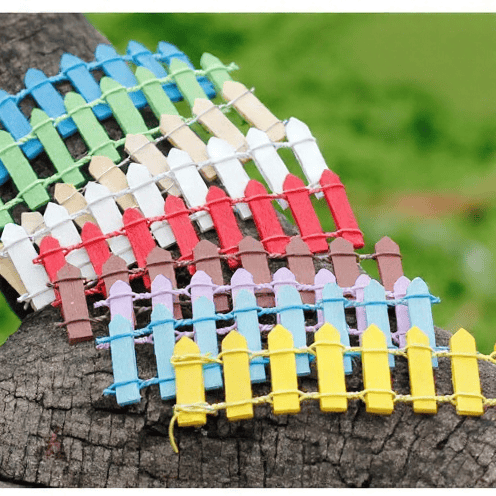 miniature fairy garden fence
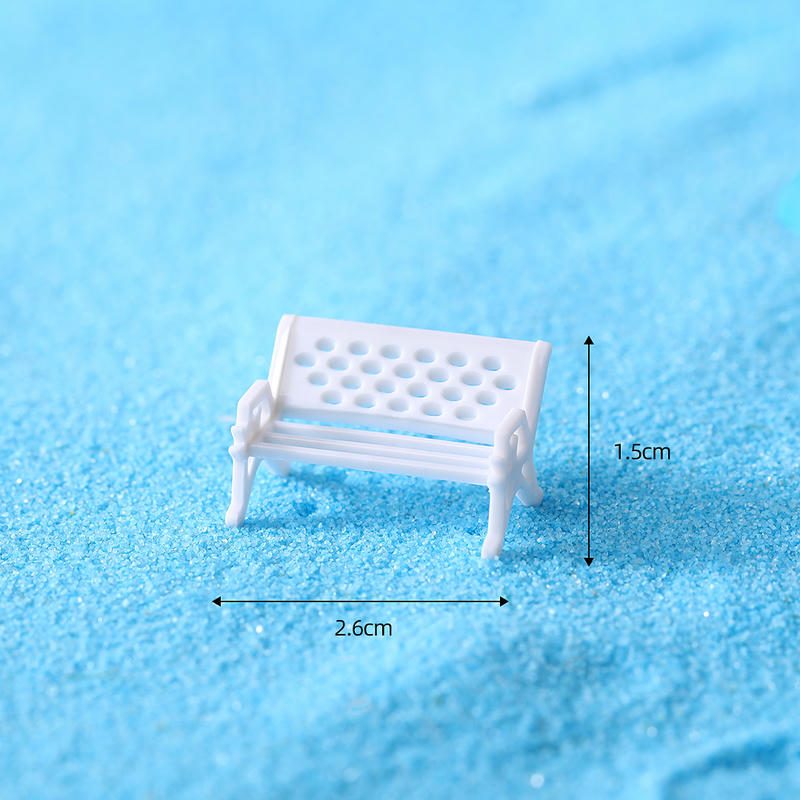 tiny white garden bench
Step 4: Add Animal Characters
Bring the kit to life with animals from the same series, such as a cute mini fairy garden tortoise. Keep the count small so the cottage remains the hero.

Step 5: Final Check and Finished Display
Remove anything that crowds the doorway, confirm the fence gate faces forward, and photograph the tray in daylight. Check three things: the cottage still leads, animals do not block the path, and moss still shows between props. The finished kit should look calm, complete, and ready for shelf display.


If you are packing kits for resale, photograph both the flat-lay parts and the finished tray so customers understand the transformation. Keep a printed step card with the five stages above—prep, moss, structure, characters, final check—so staff or workshop guests can rebuild the same look without guessing.
That is how to make a fairy garden with a full kit workflow. Repeat the same five steps for gift builds or wholesale sample trays, swapping only the animal mix while keeping the cottage core of the Moss Cottage Micro Landscape Kit.